Aida Van der Veeken. Hoeven Noord Brabant. Onafhankelijk Stampin'Up Demonstratrice. Bestellen @ ilovecards.nl@gmail.com . Tel.# 0165504535
Followers
Wednesday, November 6, 2013
Friday, October 18, 2013
Mario Invitation Card
My son is turning six next month and he asked me to make a Mario card invitation card. I said ''ok, i'll try if i can", but deep inside me i'm saying oooh! that is difficult! How am i going to make that now? Thank goodness there's pinterest! and here's my inspiration http://www.pinterest.com/pin/21814379417620044/.
How i made my Mario card:
How i made my Mario card:
Monday, October 14, 2013
Wine Bottle Gift Wrapping Idea
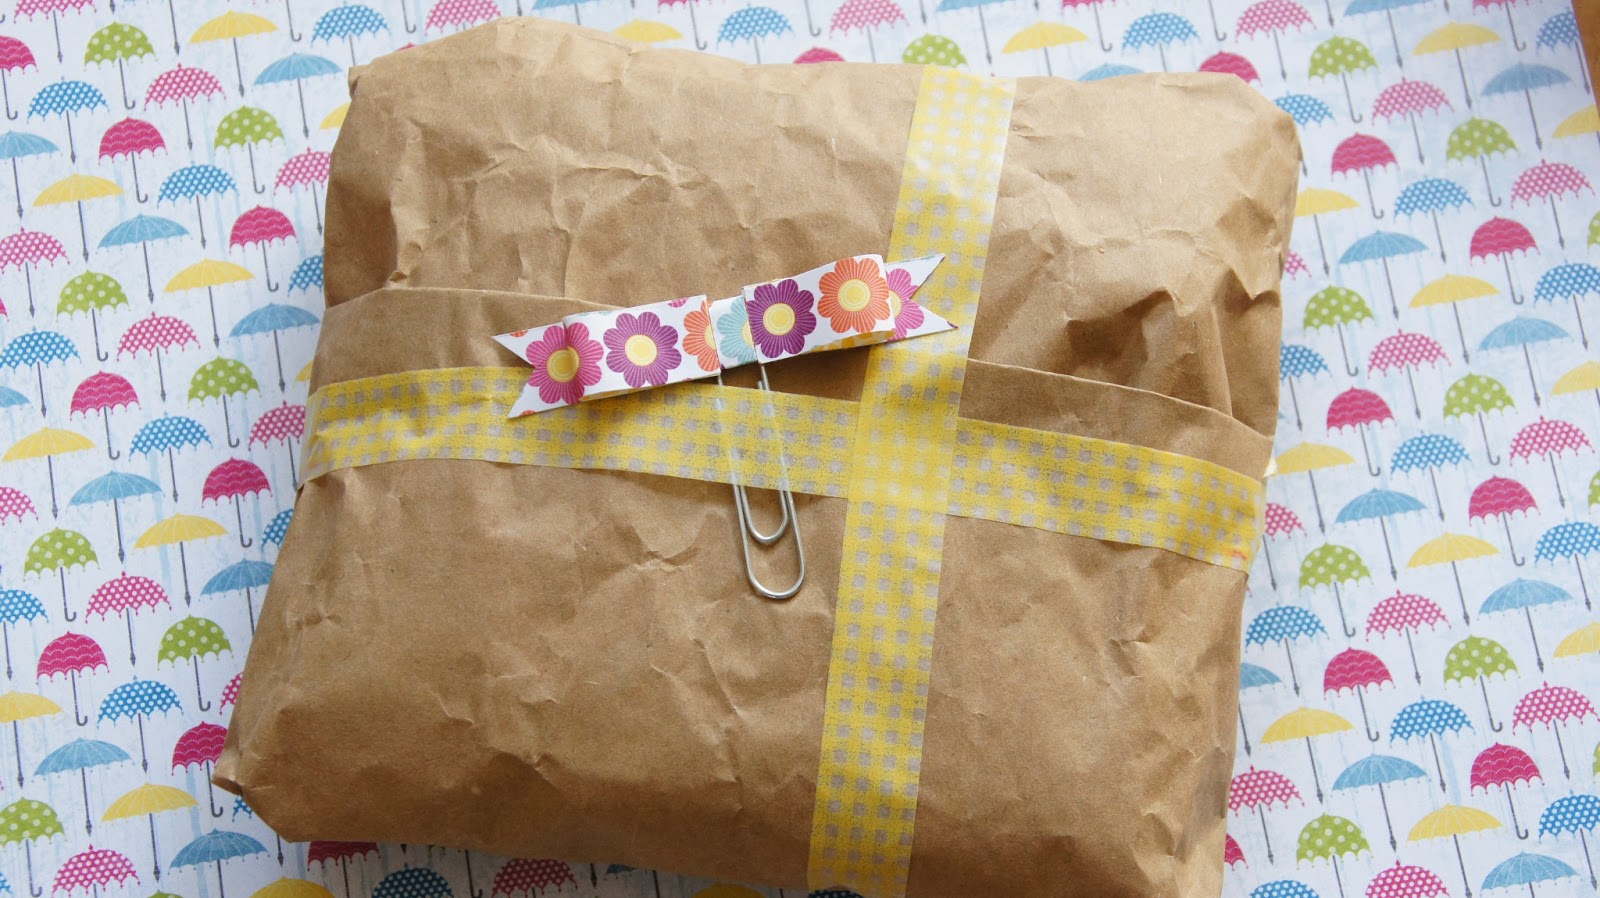
A friend of mine ask me to wrap a wine for her friend's birthday party. at first didn't know what and how to do it. I've look everywhere for inspiration on how to wrap a wine but, did not really like it. Thankfully i saw this simple but pretty wine bottle gift wrapping http://www.youtube.com/watch?v=xH6ifSxdHDY. And here's my take.
Saturday, October 5, 2013
World Cardmaking Day
Here's a card i made today to celebrate World Cardmaking Day!
I used Eveything Eleanor and Make A Wish stamp set. My card base and ink pad is pool party and my second panel cardstock is very vanilla. adhered my card with sticky strip to make sure my cardstocks will be married forever and embellished it with different sizes of jewels basic pearls.
Not to forget to mension, this card was inspired by a swap card made by stampinbymarione.
Tuesday, September 24, 2013
Cards Swap Sneakpeek For NL Creative Tour
Hmmm! It's been a long time i did not post my creations here, since i have my facebook page. but here i am, i'm back to show you a sneakpeek of my cards swap for NlL creative tour in Apeldoorn on 27/9/13. I'm so excited to see my Stampin'Up! sisters again esecially the pinkies group. And now the two photos.
Shop Now

Shop Now

Tuesday, July 2, 2013
Stampin'Up! New Annual Catalogue 2013-2014
Super excited today is the first of the Stampin'Up! new annual catalogue! To order Stampin'Up! products please email me @ ilovecards.nl@gmail.com or call me @ 0165504535. To see the catalogue please cick HERE.
Wednesday, June 26, 2013
Honeycomb Embossing Folder Card
Quick card. White on white CAS card my favorite style of cardmaking. And i never thought i'd fall inlove with honeycomb embossing folder! I'm so glad i bought it.
Stampin'Up! Materials:
Whisper white cardstock
Honeycomb embossing folder
Stampin' dimensional
Mini glue dots
Artisan embellishment kit
Pinwheel Birthday Card
Here's a video on how to make a paper clip bow
Stampin'Up! Materials Used For My Card:
Whisper white cardstock
Confetti stamp set
Teeny tiny sentiments stamp set
Sizzlits .pinwheel
Toothpick
Mini brads (silver)
Mini glue dots
Tombo liquid glue
Pool party, blushing bride and calypso coral ink pads
Wednesday, June 19, 2013
Double Embossed Birthday Card
I made this for a good friend of mine. She turned 50 and she loves blue. So i thought tempting turquoise cardstock and gold embossing powder would be nice combination.
First i embossed tempting turquise cardstock with vintage wall paper embossing folder and then tapped carefully with versamark ink pad and covered with gold embossing powder, shaked off the excess powder and melted the powder with embossing heat tool. Happy birthday sentiment from teeny tiny sentiments stamped on tempting turquoise punch it with word window punch , attached it on crumbcake cardstock punched with modern label punch. Embellished it with victoria crochet ribbon and antique brads, i smeared the ribbon lightly with early espresso ink and so the edges of my crumb cake cardbase and the embossed tempting turquoise cardstock to give a vintage look.
First i embossed tempting turquise cardstock with vintage wall paper embossing folder and then tapped carefully with versamark ink pad and covered with gold embossing powder, shaked off the excess powder and melted the powder with embossing heat tool. Happy birthday sentiment from teeny tiny sentiments stamped on tempting turquoise punch it with word window punch , attached it on crumbcake cardstock punched with modern label punch. Embellished it with victoria crochet ribbon and antique brads, i smeared the ribbon lightly with early espresso ink and so the edges of my crumb cake cardbase and the embossed tempting turquoise cardstock to give a vintage look.
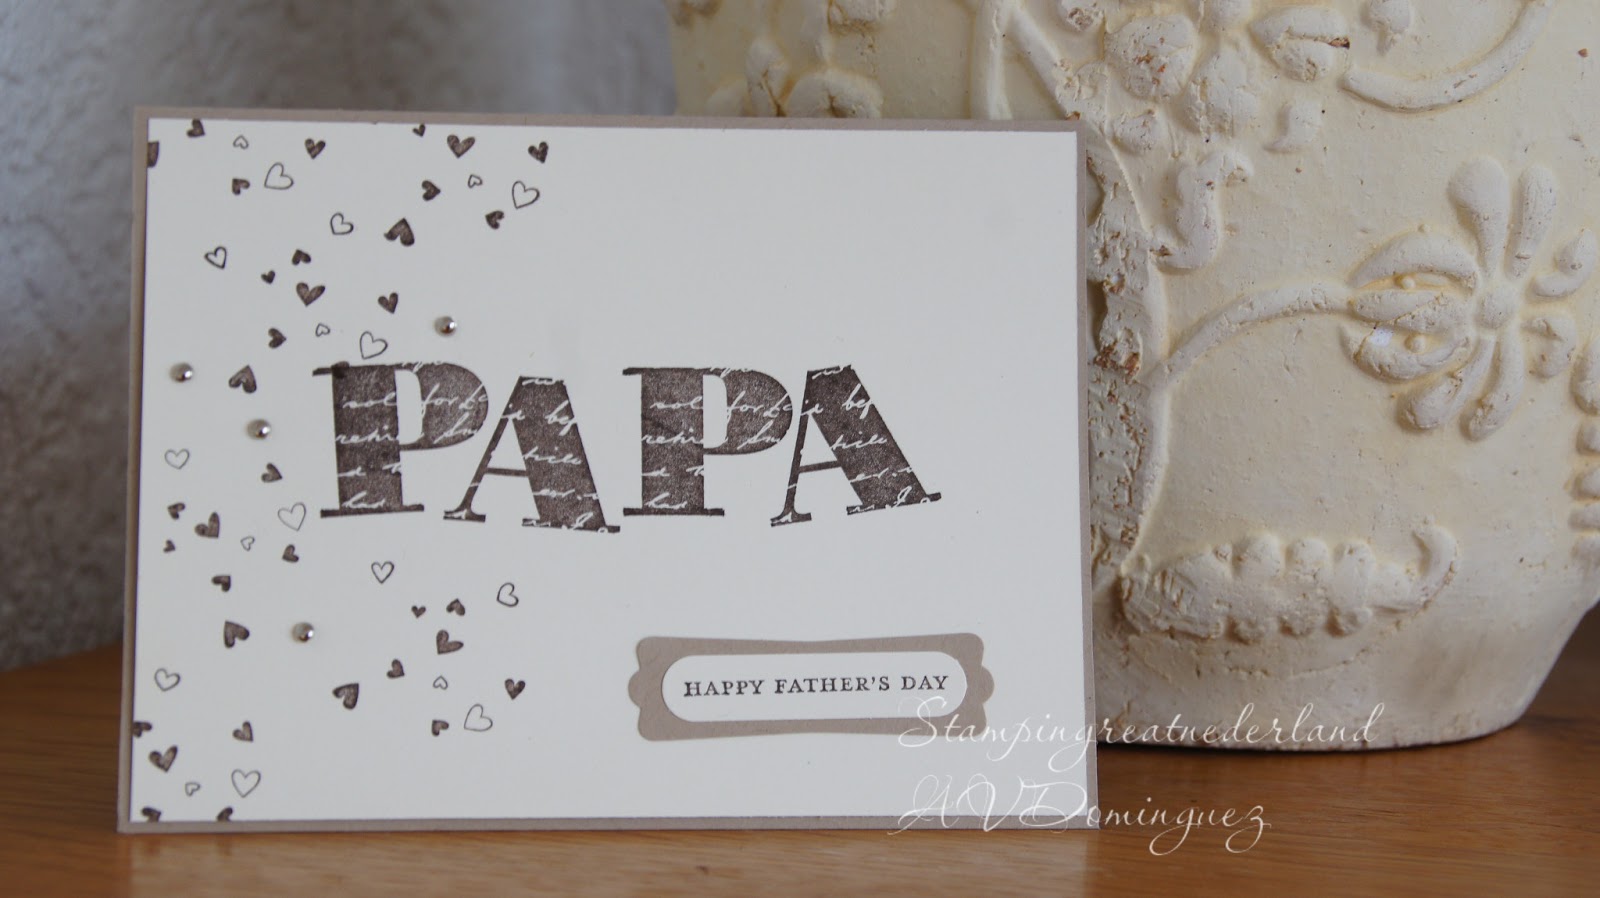
Father's Day Card
Sunday, June 2, 2013
Stampin'Up! Single Stamps
Single Stamps available from yesterday till August 13, 2013. This offer is available for clear-mount stamps only. Please click SINGLE STAMPS.
Stampin'Up! Retired List 2013
Get your favourite retiring Stampin'Up! products before they are gone. This promo is from May 31 till August 13, 2013. Pls. click RETIRING LIST to see the list.
Wednesday, May 29, 2013
Stippled Blossoms Anniversary Card
I'm missing my embossing folders and it's time for me to use my ribbons and pearls for a change. I really like to make very simple and clean card most especially one layer card but i don't want to bore people with my one layer card, i want to inspire people so it's time for me to get out from my comfort zone and be more creative.
To order Stampin'Up! Products check the Annual Catalogue HERE , Spring Summer Catalogue HERE . Email @ ilovecards.nl@gmail.com or call me @ +31 165504535
Or join Stampin'Up! HERE or click Join Stampin'Up! Now above.
Stampin'Up! Materials:
Stampin' trimmer(129722)
Paper: Crumb cake(121685), Very vanilla(106550)
Stamp: Stippled blossoms clear(126747) wood(126745), Teeny tiny sentiments clear(120024) wood(129579)
Embossing folder: Vintage wallpaper(120175)
Embossing machine: Big Shot(113439)
Sticky strip(104294)
Large pearl basic jewels(125577)
Ink Pad: Real red(126949), Early espresso(126974)
Punch: Word window(119857),Modern label(119849)
Ribbon: 5/8''Crochet trim(118481)
Thanks for visiting my blog and may God bless you all!
Tuesday, May 28, 2013
Twisted Card Fun Fold
It's really fun to make this card but i suggest practice first if you plan to make. I've waisted lots of cardstocks and DSP. Got the idea from the video below.
Monday, May 27, 2013
Stippled Blossoms Tripple Time Card
This card wasinspired by Sandi MacIver. Really love the color combination and the fabulous florets stamp set she've used unfortunately i don't have the stamp or else i'll CASE it. I treid with other stamp but it did not look great as hers so i decided to use stippled blossoms and choosed rich razzleberry, pretty in pink, certainly celery and early espresso for my color. i also used versamark and white embossing powder. My paper is the same as hers very vanilla and crumb cake.
Here's her youtube video http://www.youtube.com/watch?v=-CRDTXkQcxo&feature=youtu.be
Here's her youtube video http://www.youtube.com/watch?v=-CRDTXkQcxo&feature=youtu.be
Stampin'Up! Blossom Punch
Just a simple thank you card i've made for my downlines. i hope they'll like it.
Stampin'Up! Materials:
Paper- Whisper white, gumball green, and raspberry ripple
Stamp- Mixed bunch and sassy salutations
Ink pad- Melon mambo
Punch- Blossom , bird builder and scallop edge border punch
Sanail adhesive and stampin' dimensionals
Stampin'Up! Materials:
Paper- Whisper white, gumball green, and raspberry ripple
Stamp- Mixed bunch and sassy salutations
Ink pad- Melon mambo
Punch- Blossom , bird builder and scallop edge border punch
Sanail adhesive and stampin' dimensionals
Saturday, May 18, 2013
Gift Box Tutorial
Cut A4 whisper whit into half or around 5 7/8x 7 1/2
Score it at 1 1/2 lenghtwise and then turn your paper scoer it at 1 1/2, 3 1/2, 5, 7inches.Fold the scored lines using your bone folder to get a professional look folds. Then cut your paper as shown on the pic above and use sticky strip to put them together. One sticky strip on the side and one at the bottom or its up to you how you want them put together , for me to strips are enough as sticky strip is very strong adhesive.
Subscribe to:
Comments (Atom)


